Since .netCore released I couldn’t find much information about how to implement either oauth2 or openId .I found identityServer4 easy to create an authorization server and did an example how to set it up. I hope this article will be helpful for some who is looking for what it is and how to implement identityserver4 along with refreshtoken on the .net core 2. So,what is IdentityServer4 ? IdentityServer4 is an OpenID Connect and OAuth 2.0 framework for ASP.NET Core. It is free and also has support for commercial uses.We’ll be creating hybrid authentication flow to implement refresh token using grant types Resource Owner Password Credentials(ROPC) and Refresh Token. I won’t be explaining all protocols here. If you need further information you can checkout IdentityServer4 ,OAuth2 and OpenId. Let’s dig into some coding.
Setup Projects
I will be using Visual Studio 2017 as my IDE. You need .netCore framework installed before. Later on, we are going to test our identity api with my favorite tool PostMan.
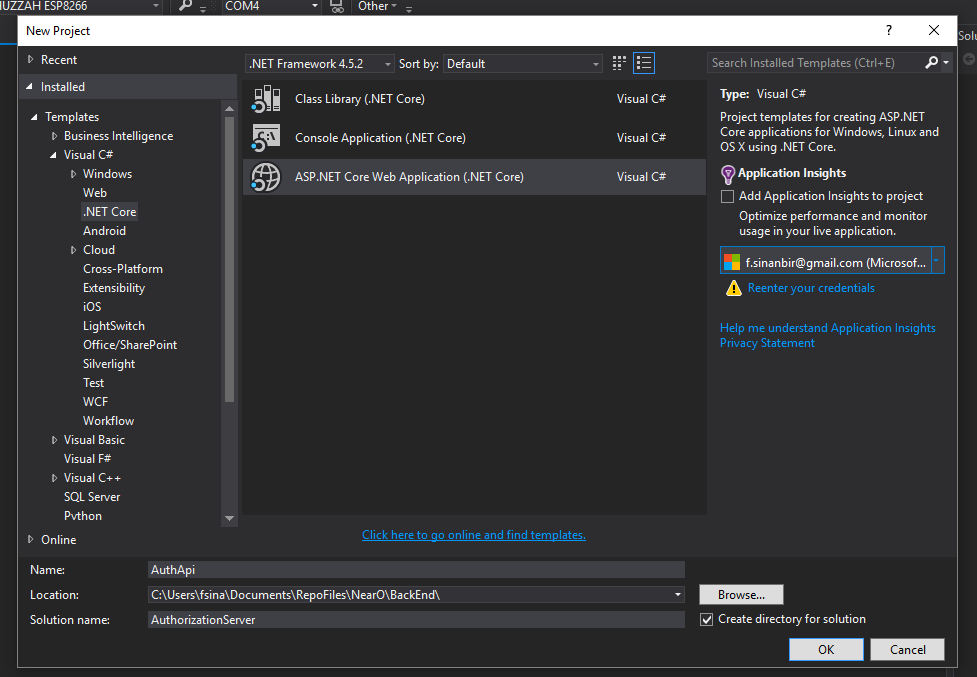
- Lets create our .netCore api project.
- Then select empty template
- In program.cs file add
UseUrls(“http://localhost:8000”)
Install Identity Server package “Abp.ZeroCore.IdentityServer4” with nuget package manager. After installation you will have package reference in your csproj file like below.
-
<ItemGroup>
<PackageReference Include=”Abp.ZeroCore.IdentityServer4″ Version=”3.2.5″ />
<PackageReference Include=”Microsoft.AspNetCore.All” Version=”2.0.3″ />
</ItemGroup>
- We are going to configure IdentityServer to use MemoryStore for test purposes. In production you shouldn’t use it in that way. Let’s create MemoryDb.cs file to store our client and resource information. IdentityServer also has support for EF. More information could be found on identity server website.
using IdentityServer4;
using IdentityServer4.Models;
using IdentityServer4.Test;
using System.Collections.Generic;

namespace WebApp.IdentityServer.Example.Helper
{
	public class MemoryDb
	{
		// scopes define the API resources in your system
		public static IEnumerable<ApiResource> GetApiResources()
		{
			return new List<ApiResource>
			{
				new ApiResource("sinanbir.com.auth", "My API Display Name")
			};
		}

		// clients
		public static IEnumerable<Client> GetClients()
		{
			// client credentials client
			return new List<Client>
			{
				new Client
				{
					ClientId = "client1",
					AllowedGrantTypes = GrantTypes.ClientCredentials,

					ClientSecrets =
					{
						new Secret("password".Sha256())
					},
					AllowedScopes = { "sinanbir.com.auth" }
				},

                // resource owner password grant client
                new Client
				{
					ClientId = "ropcclient",
					AllowedGrantTypes = GrantTypes.ResourceOwnerPassword,
					AllowOfflineAccess = true,//Enables refresh token.
                    ClientSecrets =
					{
						new Secret("password".Sha256())
					},
					AllowedScopes = { "sinanbir.com.auth", IdentityServerConstants.StandardScopes.OfflineAccess, }
				}
			};
		}

		public static List<TestUser> GetUsers()
		{
			return new List<TestUser>
			{
				new TestUser
				{
					SubjectId = "1",
					Username = "sinan",
					Password = "bir"
				},
				new TestUser
				{
					SubjectId = "2",
					Username = "testuser",
					Password = "password"
				}
			};
		}
	}
}
“ropcclient” will be able to use refresh token by adding IdentityServerConstants.StandardScopes.OfflineAccess to its allowed scopes. You will get invalid scope error if you don’t specify this scope. It’s important!
Lastly, We should modify our startup.cs file to run server and token validation. If you’re migrating from asp.net core 1.x to 2.x some functions get replaced. Before 2.x release we were able to use app.UseIdentityServerAuthentication method in Configure section but it’s replaced with app.UseAuthentication method. Identity server will be enabled after adding app.UseIdentityServer method in Configure section.
It requires some service configurations before setting up server. We will be registering Memory implemented class into services pipeline.
services.AddIdentityServer()
.AddDeveloperSigningCredential()
.AddInMemoryApiResources(MemoryDb.GetApiResources())
.AddInMemoryClients(MemoryDb.GetClients())
.AddTestUsers(MemoryDb.GetUsers());
The first method AddIdentityServer adds default IdentiyServer services to the DI system.
AddDeveloperSigningCredential method adds temporary key at startup. If you don’t have certificate it’s easy for testing purposes.
AddInMemoryApiResources method adds our memory implementation resources to identity server settings.
AddInMemoryClients method adds our memory client to the identity server.
AddTestUsers adds memory users to the server. If you want to change memory implementation of the user store, you should call AddAspNetIdentity<User> method. It will be looking for the service IUserStore<User>.
After registering dependencies into DI service, we’ll be setting JWT Bearer options in ConfigureServices section for token validation. This settings will be used to validate our JWT token. If you’re setting up a seperate identity server you don’t have to configure this part. It will be only responsible to validating our tokens. First part is enough to setup our identity server for implementing openid and oauth2. But in our example we won’t be setting up separate auth and api projects. So we’ll be implementing them together in one solution.
After completing the steps above you will have a startup.cs
using System;
using System.Collections.Generic;
using System.Linq;
using System.Threading.Tasks;
using Microsoft.AspNetCore.Authentication.JwtBearer;
using Microsoft.AspNetCore.Builder;
using Microsoft.AspNetCore.Hosting;
using Microsoft.Extensions.Configuration;
using Microsoft.Extensions.DependencyInjection;
using Microsoft.Extensions.Logging;
using Microsoft.Extensions.Options;
using Microsoft.IdentityModel.Tokens;
using WebApp.IdentityServer.Example.Helper;

namespace WebApp.IdentityServer.Example
{
    public class Startup
    {
        public Startup(IConfiguration configuration)
        {
            Configuration = configuration;
        }

        public IConfiguration Configuration { get; }

        // This method gets called by the runtime. Use this method to add services to the container.
        public void ConfigureServices(IServiceCollection services)
        {


			var authUrl = "http://localhost:8000";

			#region IdentityServerSetup

			services.AddIdentityServer()
				.AddDeveloperSigningCredential()
				.AddInMemoryApiResources(MemoryDb.GetApiResources())
				.AddInMemoryClients(MemoryDb.GetClients())
				.AddTestUsers(MemoryDb.GetUsers());

			#endregion

			#region Validation Settings
			services.AddAuthentication(JwtBearerDefaults.AuthenticationScheme)
			.AddJwtBearer(options =>
			{
				options.Authority = authUrl;
				options.RequireHttpsMetadata = false;
				options.TokenValidationParameters = new TokenValidationParameters
				{
					ValidateIssuer = true,
					ValidIssuer = authUrl,
					ValidateAudience = false,
					ValidAudience = "sinanbir.com.auth",//test purposes
					ValidateLifetime = true,
				};
			});

			#endregion
			services.AddMvc();
        }

        // This method gets called by the runtime. Use this method to configure the HTTP request pipeline.
        public void Configure(IApplicationBuilder app, IHostingEnvironment env)
        {
            if (env.IsDevelopment())
            {
                app.UseDeveloperExceptionPage();
            }


			app.UseIdentityServer();
			app.UseAuthentication();
			app.UseMvc();
        }
    }
}
Now our server is ready for both providing tokens and validating them.
Testing Server
Let’s test our server. If you did all steps above properly then you should be able to see our server configuration by doing get request to http://localhost:8000/.well-known/openid-configuration end-point.
{
  "issuer": "http://localhost:8000",
  "jwks_uri": "http://localhost:8000/.well-known/openid-configuration/jwks",
  "authorization_endpoint": "http://localhost:8000/connect/authorize",
  "token_endpoint": "http://localhost:8000/connect/token",
  "userinfo_endpoint": "http://localhost:8000/connect/userinfo",
  "end_session_endpoint": "http://localhost:8000/connect/endsession",
  "check_session_iframe": "http://localhost:8000/connect/checksession",
  "revocation_endpoint": "http://localhost:8000/connect/revocation",
  "introspection_endpoint": "http://localhost:8000/connect/introspect",
  "frontchannel_logout_supported": true,
  "frontchannel_logout_session_supported": true,
  "scopes_supported": [
    "myApi",
    "offline_access"
  ],
  "claims_supported": [],
  "response_types_supported": [
    "code",
    "token",
    "id_token",
    "id_token token",
    "code id_token",
    "code token",
    "code id_token token"
  ],
  "response_modes_supported": [
    "form_post",
    "query",
    "fragment"
  ],
  "grant_types_supported": [
    "authorization_code",
    "client_credentials",
    "refresh_token",
    "implicit",
    "password"
  ],
  "subject_types_supported": [
    "public"
  ],
  "id_token_signing_alg_values_supported": [
    "RS256"
  ],
  "token_endpoint_auth_methods_supported": [
    "client_secret_basic",
    "client_secret_post"
  ],
  "code_challenge_methods_supported": [
    "plain",
    "S256"
  ]
}
The postman collection that I’ve used for tests can be reached from here.
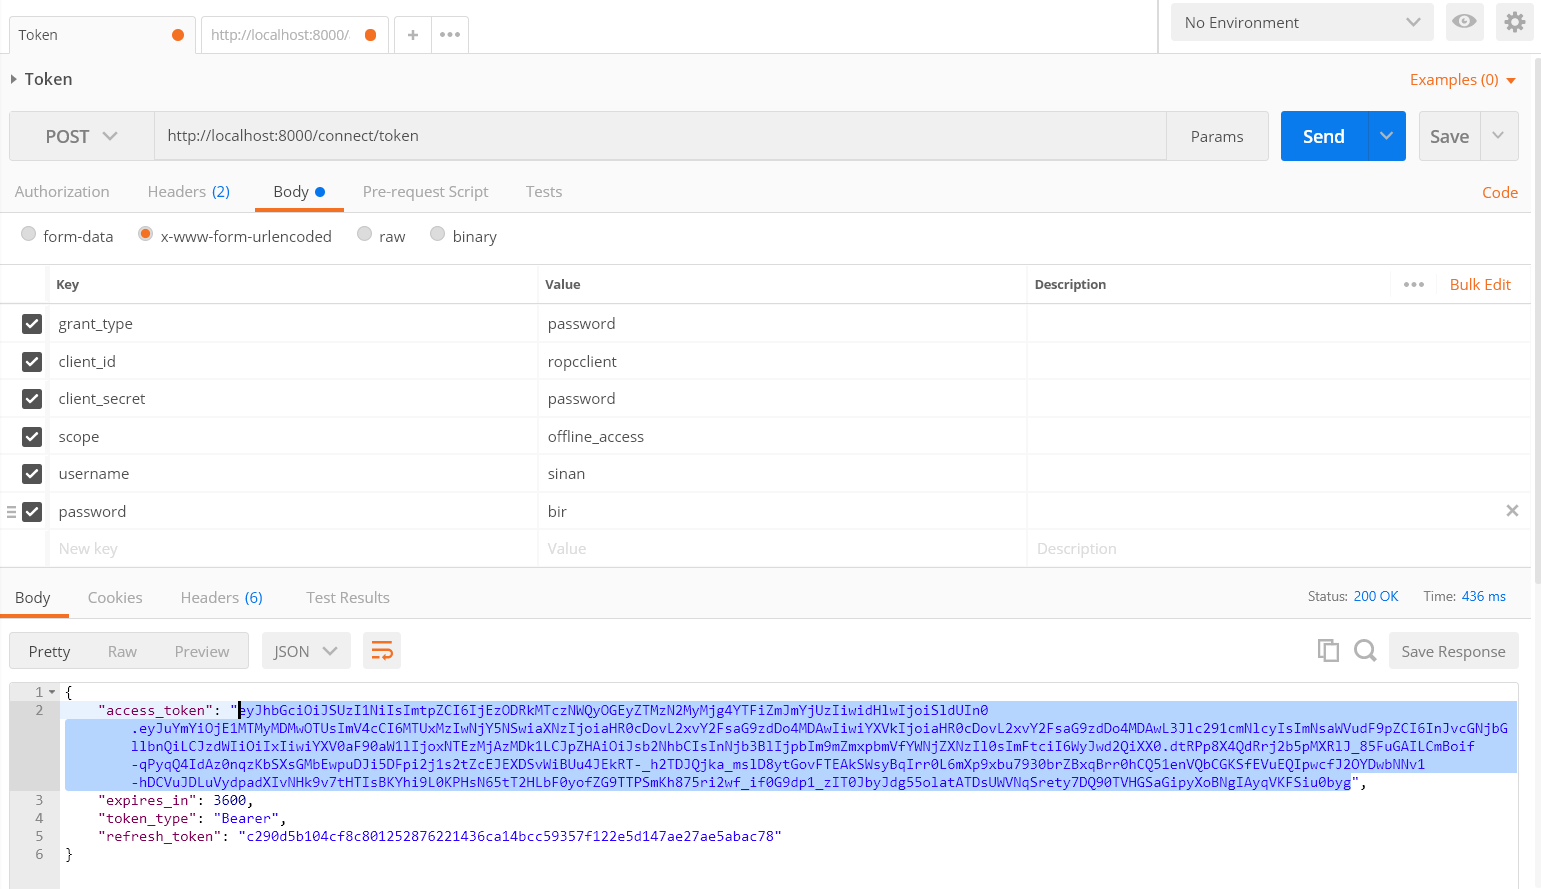
Token Request
RefreshToken Test
We’ll be renewing our token for the next request by changing the grant type password to refresh_token along with the refresh_token that we get from this request.

Refresh Token Request
The repo which I created for this article can be reached from here.
That’s it. It’s just quick setup to show how easy it is with IdentityServer. If you are looking for more samples, you can check out github repo.
March 15, 2017 at 11:11 pm
Great article, I was looking for such article, as you said no much information about how to implement either oauth2 or openId.. thanks you very much